
By now you’ve probably heard the news – by the end of 2020, Adobe and Google Chrome will no longer support Flash. We’ve even featured a blog of our own about the subject. With Flash going the way of the dinosaurs, it’s time to find an alternative way to present your trainings. There are many different authoring tools out there, but today we'll cover how to work with templates, animations, and scripting in Storyline 360 to rebuild and revamp your Flash content!
Making the Change – Why and How?
There are a lot of things to consider when converting a Flash course – first and foremost being if the content is worth saving, and if it is, what format to use when converting it. If you are looking for the simplest solution, you could simply record the content as a video and call it a day. However, if you are looking for a more robust solution, here are a few tips and tricks when recreating your content in a new format, specifically HTML5.
Working with Storyline 360
There are a variety of authoring tools available to use for Flash to HTML5 conversion, but we’ve found Articulate Storyline 360 to be the most versatile and intuitive for the process. Storyline provides a user-friendly solution to authoring custom eLearning on a variety of platforms. With it, you can take that old Flash course and remake it anew. Storyline provides you with the tools to handle some of the more involved (and most fun!) techniques from Flash, such as recreating complex animations or inserting custom code snippets. Which leads me to the first major tip – templates.
Templates
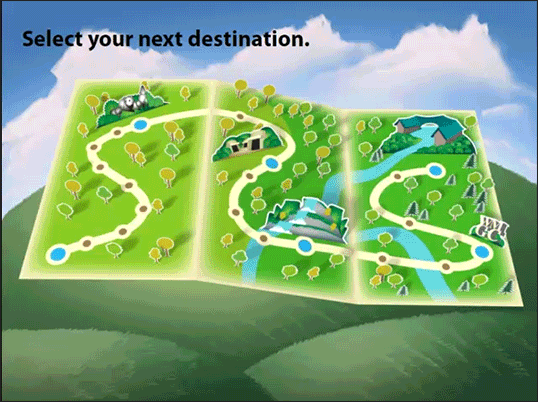
If you have an Articulate 360 subscription, you have access to a wide variety of templates via Content Library 360. If, like us, your eLearnings are custom built and you need something a little more involved, don’t hesitate to create your own. The first course or slides always take more time to build, but after that you can base the following material off what you've already created. If you are working to convert a suite of trainings, it’s much easier to recreate the first module and then re-use the navigation, coloring, branding, and page styles to make subsequent ones. It seems like simple advice, but it’s easy to focus on perfectly replicating content and miss out on opportunities to be flexible.

Keeping the Spirit
That leads me to the next important tip – when converting material, keep in mind that you want to keep the spirit of the training because it may not be possible to create a carbon copy. Some ideas may be difficult to recreate or just will not translate well to the new format. Pulsating highlights, for example, were easily created in Flash but require a lot more work in Storyline. A simple workaround is to create a shape with no fill – a brightly colored outline – and add an entrance and exit animation. This gives the illusion of a highlight that animates around the object.
The Joy of Animation
Speaking of pulsating highlights and animations, there are many ways to work with Storyline’s built-in animations and motion paths to recreate Flash animations. You can create a moving background, like smoke wafting up behind the scenes, by taking an oversized image and applying a motion path with a short distance but a very long timeline. The background will slowly move across the slide, changing little by little and adding fluid movement to the scene. This works great for recreating subtle effects like smoke, water flowing, or clouds drifting across a sky. Alternatively, you can animate the individual pieces and apply a motion path to each of them (such as four separate clouds each with their own paths) to allow for more variety in the movement.

Keeping it Going
Looping animations in Storyline can be trickier but are still possible. An extended motion path background as described above will eventually run out once the path and/or timeline completes. How do you create an animation that will keep on going, no matter how long the learner stays on the page? You would start similarly by creating your object on a layer and applying the motion path or entrance/exit animations that you desire. Copy this object onto a second new layer, and then have each layer switch to the other once the animation completes. You now have a looping animation!
Follow the Script
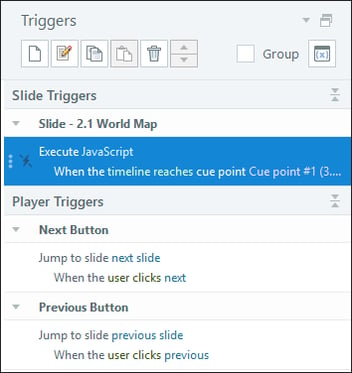
Storyline also presents you with the option to include JavaScript triggers in your slides. This gives you a great deal of flexibility in what you can do on a slide and provides a way to do things that required ActionScript in your old Flash courses. For example, this includes techniques like printing a slide, retrieving date and time, or pulling a learner’s name from the LMS, to name a few.
Saving the Best
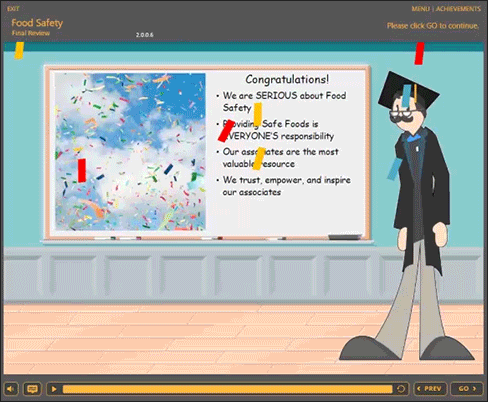
There may be some complicated or long animations and videos that still present problems to recreate in Storyline. Sometimes it is easier to export an animation as a video or take a screen recording and then insert it into your new HTML5 course as-is. Use your best judgment when recreating your material and remember to make it the best it can be.
If you are still uncertain about how to do things or feel overwhelmed by the amount of material on your plate, we can help! Reach out to us for advice about Flash to HTML5 conversion or even let us do the work for you. And keep an eye out for more Storyline tips and tricks in the future!
Want to see more examples in action?

